Mini Cart

If you’ve been wanting to get to a bathroom or kitchen renovation since the start of the pandemic, 2022 is the time to jump straight into it. A new year presents a string of new opportunities, and after the Festive Season you’ve hopefully got a bit of extra energy to tackle new side projects on your list. Changing floor and wall tiles is a relatively easy way to get the ball rolling, and although you may want to change the entire look and feel of the room, it might be worth saving some tiles for future use. Here’s everything you need to know about removing floor and wall tiles without breaking them in the process.
Going in with Realistic Expectations
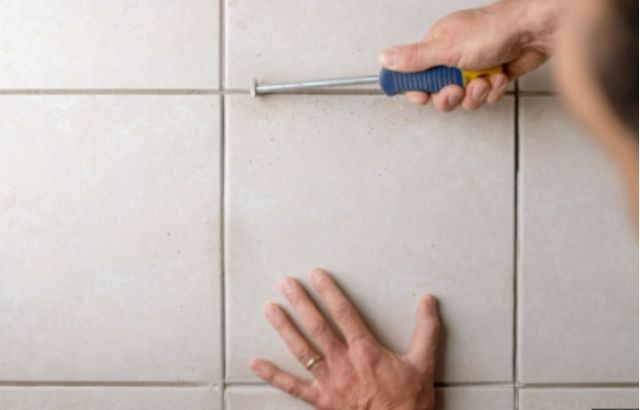
Going into the process with the right expectations is essential to successfully removing your tiles without ending up with cracks and chips in them. The first tile you’ll remove will always be the most difficult, as there is likely to be very little (to no) access from either side of it. You’ll need to prod the corners with the back of a hammer to try and loosen it up. Don’t be too hard on yourself if it breaks in the process. Sometimes losing a single tile is part of the bigger picture, in order to get the rest of the tiles removed without breaking them.
Patience and Discipline During the Process
Removing wall or floor tiles can be a difficult and time-consuming process. Sometimes, a few of the obstacles you will encounter will only start to reveal themselves as you go about doing so. The construction of the wall or floor can make a big difference to how difficult it is to remove a tile successfully. The same goes for the type of tile, the quality and how it is positioned relative to the others in the room. Tricky spots will likely have been tricky to fit the tile in to begin with. Work on the project when you’re calm, remember to stay patient, and discipline is essential along the way.
Starting the Right Way
Begin at the edge of the floor or wall where it’s easier to manoeuvre. Don’t forget to put on safety goggles first. You’ll need the back of a hammer to prod the corners of random tiles, trying to find one that is loose. Prize it out gently, until it is loose enough to remove. Don’t rush, as it may break the tile. With better access to the tiles around you, you can now chisel and scrape from the open area. Be mindful of which side of the scraper you are using, as doing so can make the task much quicker, and increase the likelihood of success too.
Working Your Way Across The Floor or Wall
Having practised on a couple of tiles, you can now start to work your way across the wall or floor. Some tiles will be more loose than others, especially if they have been applied with a pliable adhesive. You could also discover adhesive that is as hard as a concrete slab, which will be next to impossible to dislodge. Don’t lose faith, go gently into the process, and move on from a tile if it’s frustrating you too much. You can always come back later, hopefully with more success. If you have more questions about the process, the Bella Bathrooms team is happy to offer advice whenever you need it.
