How to Paint Porcelain and Ceramic Tiles: A Step-by-Step Guide
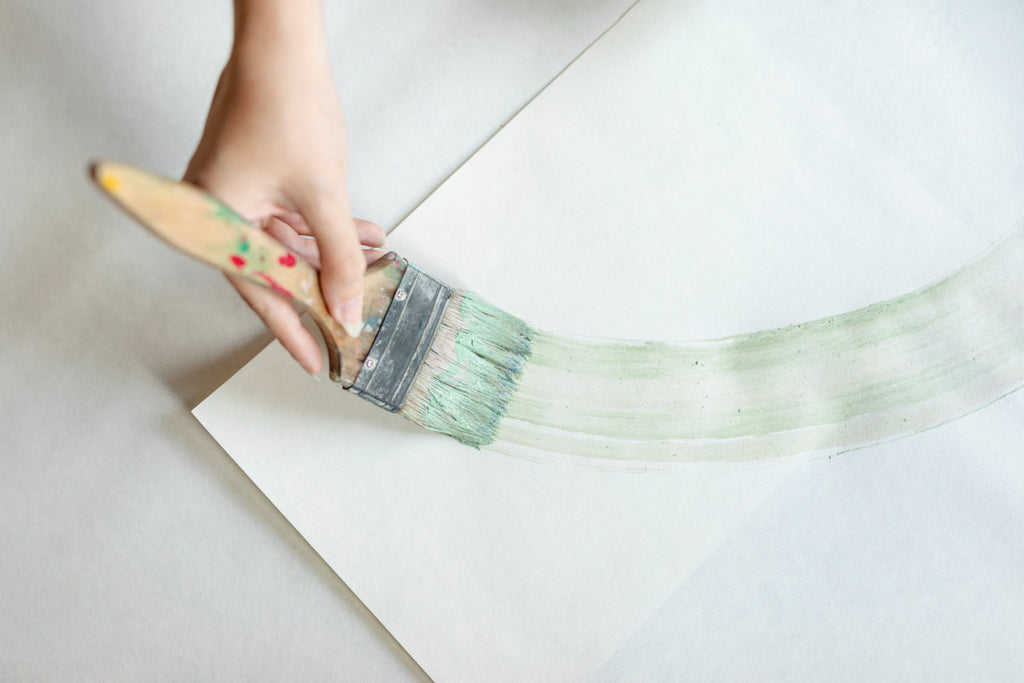
Painting your bathroom or kitchen tiles is one of the most affordable ways to refresh a tired space without committing to a full retile. It works well on glazed ceramic and porcelain wall tiles, and with the right prep it can hold up for years. This guide walks you through the full process — from prep to sealing — and also covers when retiling is genuinely the better call.
Can you actually paint ceramic and porcelain tiles?
Yes — but only if you prep them properly. Both ceramic and porcelain have a glazed, non-porous surface that paint cannot grip on its own. The job lives or dies on the primer and the cleanliness of the surface before you start.
Porcelain is denser and harder than standard ceramic, which means it's even more resistant to absorbing primer. You can still paint porcelain — but expect to spend more time keying the surface and choose a primer made for slick, non-porous substrates.
Where this technique works best:
- Bathroom and kitchen wall tiles
- Backsplashes
- Tile fireplace surrounds
- Decorative niches and feature walls
Where it does not work well:
- Floor tiles — foot traffic, water and abrasion wear the paint film down quickly. Floors are almost always better retiled. Browse our floor tiles range if you're going down that route.
- Tiles inside a shower enclosure or directly behind a bath spout — constant water exposure breaks down even the best sealed paint.
- Heavily damaged tiles — cracked, lifting or hollow tiles need replacing first.
What you will need
- Sugar soap or TSP cleaner
- 180 grit sandpaper (or 120 grit if your tiles are very glossy)
- Bonding primer for non-porous surfaces (epoxy or shellac-based)
- Tile or epoxy paint — water-based acrylic works for low-moisture areas, epoxy for kitchens and bathrooms
- Synthetic bristle roller (foam absorbs too much paint) and a small angled brush for grout lines and edges
- Painter's tape
- Clear water-based polyurethane or tile sealer for the topcoat
- Drop sheets, masks, and gloves
Step 1: Clean the tiles properly
This is the step most people rush. Years of soap scum, cooking grease, hair product residue and limescale sit on bathroom and kitchen tiles in a film you cannot see. Paint will not stick to any of it.
Wash the tiles with sugar soap or TSP, working in small sections. Use a stiff brush on the grout lines. Rinse twice with clean water and let the wall dry completely — at least 24 hours if it's a humid day.
Step 2: Sand to key the surface
Lightly sand every tile face with 180 grit sandpaper. You're not trying to grind through the glaze, just dull the gloss enough for primer to grip. The surface should look matte and slightly hazy when you're done.
For porcelain or very glossy ceramic, drop to 120 grit. After sanding, wipe everything down with a damp microfibre cloth to lift the dust, then let it dry again.
Step 3: Prime with a bonding primer
This is the make-or-break step. Use a primer specifically formulated for slick, non-porous surfaces — look for "bonding primer", "tile primer" or "epoxy primer" on the tin. General-purpose wall primers will fail within months.
Apply with the synthetic roller in thin, even coats. Cut in the edges with a small brush. Let the first coat cure for the full time stated on the tin (usually 4 to 24 hours) before going on. Most jobs need two primer coats — do not skip the second one.
Step 4: Paint the tiles
Two paint families work for tile:
- Water-based acrylic enamel — easier to apply, low odour, dries quickly. Best for low-moisture areas like a kitchen feature wall or a bathroom that ventilates well.
- Two-part epoxy paint — much tougher, water-resistant, ideal for bathroom walls and high-splash areas. Slower drying and you have to mix the components within a working window.
Roll on two coats minimum, three for high-traffic areas. Always wait the full recoat time between coats. Cut in grout lines and corners with the brush before each roller pass.
Step 5: Seal it
Once your final paint coat has cured (typically 24 to 72 hours), apply two coats of clear water-based polyurethane or a dedicated tile sealer. This is what gives the finish its durability — without it, paint will chip on edges and wash off around taps within a year.
For bathroom installations, allow seven days of cure time before exposing the area to direct water spray.
How long will painted tiles last?
With proper prep, primer and sealer, painted bathroom and kitchen wall tiles last three to five years before they start showing wear at the edges. Touch-up coats every couple of years can extend that further. Painted floor tiles, even with the best prep, generally fail within twelve to eighteen months.
When to retile instead
Paint is a refresh, not a permanent fix. If any of the following apply, your money is better spent on new tiles:
- Multiple cracked, lifting or hollow tiles
- Severe grout failure (a paint job will not fix bad grout)
- You're updating a wet area like a shower interior
- The existing layout no longer suits the space — paint cannot change tile size or shape
- You're planning to sell within two years — fresh tile work adds more resale value than paint
If you're at that point, we have a wide range of options to choose from:
- Subway tiles — timeless, easy to work with, suits classic and modern bathrooms
- Marble tiles — premium feel for feature walls and luxury bathrooms
- Terrazzo tiles — bold, on-trend, ideal for statement floors and splashbacks
- Our full tile range
Frequently asked questions
Do I need to remove the tiles before painting?
No. The whole point of painting is to avoid the cost and mess of removal. As long as the tiles are firmly bonded to the wall, paint over them in place.
Can I paint over patterned or coloured tiles?
Yes, but plan for an extra coat. Strong dark colours and busy patterns may bleed through one or two top coats. A tinted primer in a shade close to your final colour helps cover faster.
What colours work best?
Whites, soft greys and warm neutrals hide the slight texture difference between tile faces and grout lines best. Very dark colours show every grout line.
Will painted tiles look like real tiles?
Up close, you'll still see the grout grid because most paint techniques cover both tile and grout in the same colour. Some homeowners deliberately paint grout in a contrasting colour after the main job to recreate that detail.
Is it a DIY job or should I get someone in?
It's DIY-friendly if you can commit to the full prep and drying schedule — most failures come from rushing. For larger areas or if you want an epoxy finish in a wet bathroom, a professional tiler or painter will get you a much longer-lasting result.
Need help deciding between painting and retiling? Pop into our Kramerville showroom and our team will walk you through your options. We have over 30 years' experience guiding South African homeowners, architects and designers through projects like this.
-
Posted in
bathroom DIY, ceramic tiles, kitchen DIY, painting tiles, porcelain tiles, tiles